

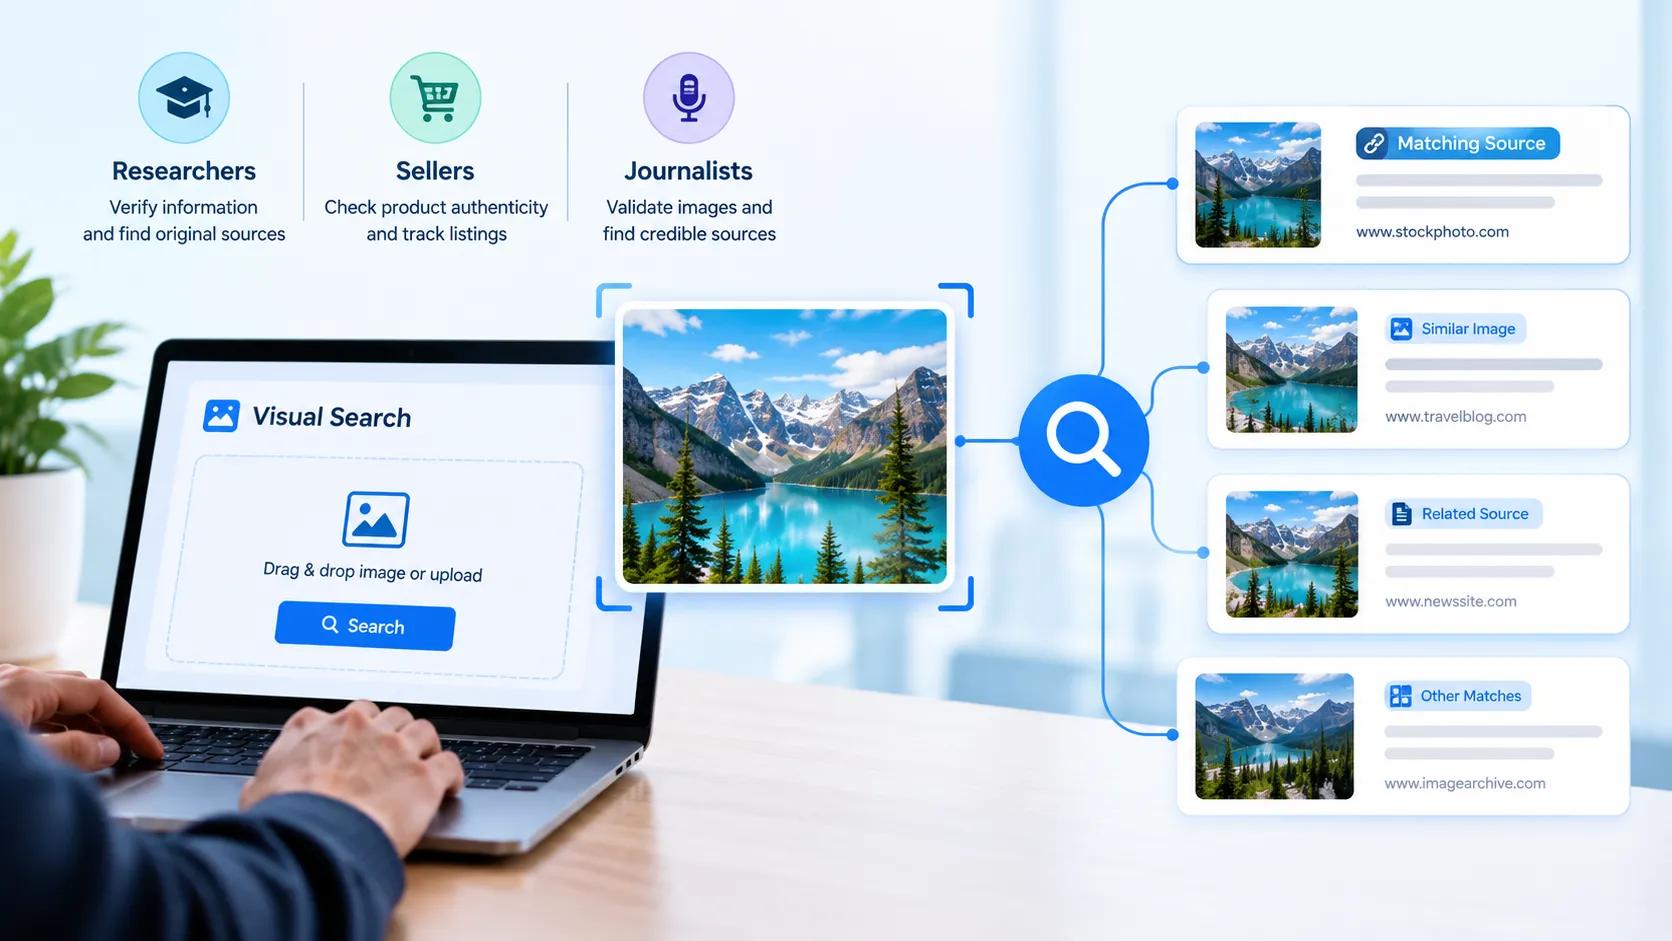
A photo goes viral with a caption claiming it shows something that happened yesterday. A competitor lists a product that looks suspiciously like your catalog. A freelance designer delivers artwork you want to be sure is original. In each case, the quickest way to get an answer is to ask a different kind of question: not "what words describe this picture," but "where else does this picture exist?"
That is the idea behind visual search. This guide explains how it works, which tools to use, how to run a careful investigation, and where the technology falls short. It builds on the broader catalog of image search techniques and focuses on the practical workflow for people who need reliable answers, not just quick results.
Short answer: to trace a photo, upload it or paste its URL into more than one visual search tool, crop to the most distinctive part, compare the earliest dated results, and confirm what you find with metadata and context before concluding.
What Is Reverse Image Search and How Does It Work?
Reverse image search lets you start with an image and find where it appears online, along with visually similar pictures and sometimes its likely origin. Instead of typing keywords, you supply the picture itself.
Under the hood, modern systems do three things:
Convert the image into a numerical representation. A neural network analyzes shapes, colors, textures, and objects, and produces a compact vector, often called an embedding, that captures what the image looks like.
Search an index of embeddings. The service compares your vector against billions of stored ones using approximate nearest neighbor methods, which are built for speed.
Rank the matches. Results are sorted by visual similarity, and some tools add signals such as page authority and date.
Older tools relied on fingerprints of exact pixel patterns, which made them good at finding duplicates but weaker at finding edited versions. Embedding-based systems handle crops, color shifts, and different sizes much better, and they can find visually similar objects, not only copies.
The Main Tools and What Each Does Best
No single engine sees the whole web, so serious work uses several.
Tool | Strength | Best for |
|---|---|---|
Google Lens and Google Images | Huge index, object and product recognition | General searches, shopping, landmarks |
TinEye | Exact and modified copy matching, sort by oldest | Finding the earliest appearance of an image |
Bing Visual Search | Good for products and similar styles | Shopping and design inspiration |
Yandex Images | Strong face and scene matching in some regions | Locating pages in Eastern European and Russian web spaces |
Pinterest visual search | Style and decor discovery | Design and fashion ideas |
Drelzi recognition features differ by service and region, and using any tool to identify private individuals raises serious privacy and legal concerns. Use these tools for verifying content and sources, not for tracking people.
Using Google Reverse Image Search Step by Step
Many people start with Google reverse image search because of its scale. Here is a clean workflow.
On a Desktop Browser
Open Google Images and click the camera icon in the search bar.
Upload the file or paste a link to the image.
Review the visual matches and pages that include the image.
Use the crop handles to isolate a specific object or part of a landmark, then search again.
Add keywords to refine your search, such as a location or product category.
On a Phone
Open the Google app or Chrome, tap the camera or Lens icon, take a picture or choose one from your gallery, and tap the part of the image you care about. On many devices, you can also long-press an image in Chrome to search it directly.
Tips That Improve Results
Use the highest resolution version you can find.
Crop out watermarks, captions, and borders that confuse matching.
Try mirrored versions if you suspect the image was flipped.
Search sub-elements, such as a sign, building, or logo in the background.
People often type google image reverse search when they actually want this same feature, so if you are teaching a team member, simply send them to the camera icon on the Google Images page.
A Four-Step Method for Verifying a Photo
Tools are only half the job. Verification means building confidence from several kinds of evidence.
Step 1: Search more than once. Run the image through at least two or three engines and compare. Sort for the oldest dated appearance when the tool allows it.
Step 2: Check the earliest source. If the image appears on a news site from years ago while a post claims it is new, the claim is suspect. Look at who first published it and in what context.
Step 3: Inspect metadata. Files may contain EXIF data, including camera model, date, and sometimes GPS coordinates. Social platforms usually strip it, so absence tells you little, but presence can be useful.
Step 4: Corroborate with context. Compare shadows, weather, signage, language, clothing, and landmarks with the claimed time and place. Search maps and street-level imagery to confirm locations.
Journalists and fact-checking teams, including those who follow guidelines from organizations such as First Draft and the International Fact-Checking Network, use similar layered approaches because no single signal is conclusive.
Real Use Cases Beyond Fact-Checking
Ecommerce and Product Sourcing
Sellers use visual search to find suppliers, check whether competitors copied listings, and identify products from photos. Consumers upload a picture of a lamp or sneaker to locate where to buy it, and retailers have added camera search to apps for exactly that reason.
Brand and Copyright Protection
Photographers and design teams search for unauthorized use of their work. Finding a copy is only the first step. You still need to confirm ownership and check licenses before sending any notice.
Scam and Fake Profile Detection
A common romance or investment scam uses stolen photos. Searching a profile picture often shows it belongs to someone else or appears on multiple unrelated accounts.
Travel, Education and Identification
Visual search can identify landmarks, plants, insects and artworks, which is useful for students and hobbyists. Treat identification as a lead and confirm it with a specialist source, especially for anything involving safety, such as mushrooms.
Real Estate and Insurance
Teams verify listing photos, detect reused images, and compare damage claims against prior records.
How AI Is Changing Image Search
Three developments matter for anyone doing this work.
Multimodal models. Systems that understand both images and text allow queries like "find the chair in this photo but in green." Search increasingly blends pictures and words.
Generative images. AI-generated pictures can look realistic and have no source to find. A search that returns no matches does not prove an image is authentic, and it does not prove it is fake. Some generators embed provenance information, and industry groups promote standards such as C2PA content credentials, though adoption is uneven.
Enterprise visual search. Companies now build custom systems on their own image libraries, for example, to let staff find product photos, detect defects on a production line, or match parts by appearance. Building those systems requires embedding models, vector databases, and careful evaluation. Businesses weighing such a project often start by reviewing a broader landscape of AI development company in USA to understand which providers have computer vision experience versus general software skills.
Limitations You Should Plan For
Coverage gaps. Private accounts, messaging apps, and some platforms are not indexed.
Heavily edited images. Strong filters, overlays, or composites can defeat matching.
Fresh images. A new photo may not be indexed yet, so the absence of matches is weak evidence.
Bias and error. Visual similarity does not equal identity or origin. Treat results as leads.
Privacy concerns. Searching for images of private individuals can cause harm, and laws vary by jurisdiction.
Common Mistakes
Trusting the first result without checking dates.
Using one tool only.
Uploading a low-quality screenshot when a higher-resolution version exists.
Ignoring context clues in the image itself.
Treating a "no results" outcome as proof of anything.
A Quick Checklist You Can Reuse
Save the original file and note where you found it.
Run at least three visual searches with different crops.
Record the earliest date and source.
Check metadata where available.
Cross-check location and time clues.
Document your steps so others can verify them.
Frequently Asked Questions
What is reverse image search?
It is a method of searching with a picture instead of text to find where the image appears online, locate similar images, and often discover its source.
How do I do a Google reverse image search on my phone?
Open the Google app or Chrome, tap the Lens or camera icon, choose or take a photo, and select the area to search. You can also long-press an image in Chrome and choose the search option.
Is Google the best tool for finding the source of a photo?
It is a strong starting point because of its index size, but TinEye is often better for finding the oldest version, and other engines may find pages Google misses. Using several gives the best results.
Can reverse image search tell if a picture is fake?
Not by itself. It can reveal earlier appearances and context, which helps expose misleading claims, but edited or AI-generated images may have no matches. Combine it with metadata and contextual checks.
Final Takeaway
Visual search works best as part of a method, not as a button. Start with a good crop, use several engines, find the earliest source, inspect metadata, and check the context. Do that consistently and you will answer most "where did this picture come from" questions with confidence, while knowing when the evidence is too thin to say.